(Snap Ride) Time-Travel **The Best Sync **
 Man was that a hard ride! Or was it just my fat ass crying? A good question to which we often need a standard to measure up against when us Cycle-Stars, Kings of the Mountain Bikes often need to know. Or at least for those of us wanting to track progress in training and even commuters.
Often when training the very basics of what we will want to know is how far we have ridden, and for how long. Most often we like to know our current speeds, cadence (how fast we are spinning our peddles around), heart-rate, and for the hill climbers it is nice to get an idea of how much altitude we have climbed and even at.
Now of days many biking warriors are also tracking our rides on various sites such as Strava as this provides a great way to see where you are standing against the competition, or just to have an over all idea of what one has accomplished.
So here comes the question on what do we actually use?:
On one had there is a host of small computers that you can get for 20 euros that will give you speed and cadence. You have slightly more expensive computers that also track this information but are now wireless with the ANT+ system for the sensors, and of course more advanced models also includes GPS. Of the more advanced model with GPS your likely paying hundreds of Euros and still have to download your ride information via some sort of interface back to your computer. Not always ideal in terms of ergonomics and todays lifestyle.
Sure there has been a bit of a revolution in the terms of personal communications devices, mainly smart-phones with iPhone as an example. With the ready to go apps that you can now get to track GPS, or do just about anything one could imagine on these devices I felt it was time to give it a go. But of course the question was, how to mount the phone, which sensors, and also how to protect this precious device, especially from such things as rain.
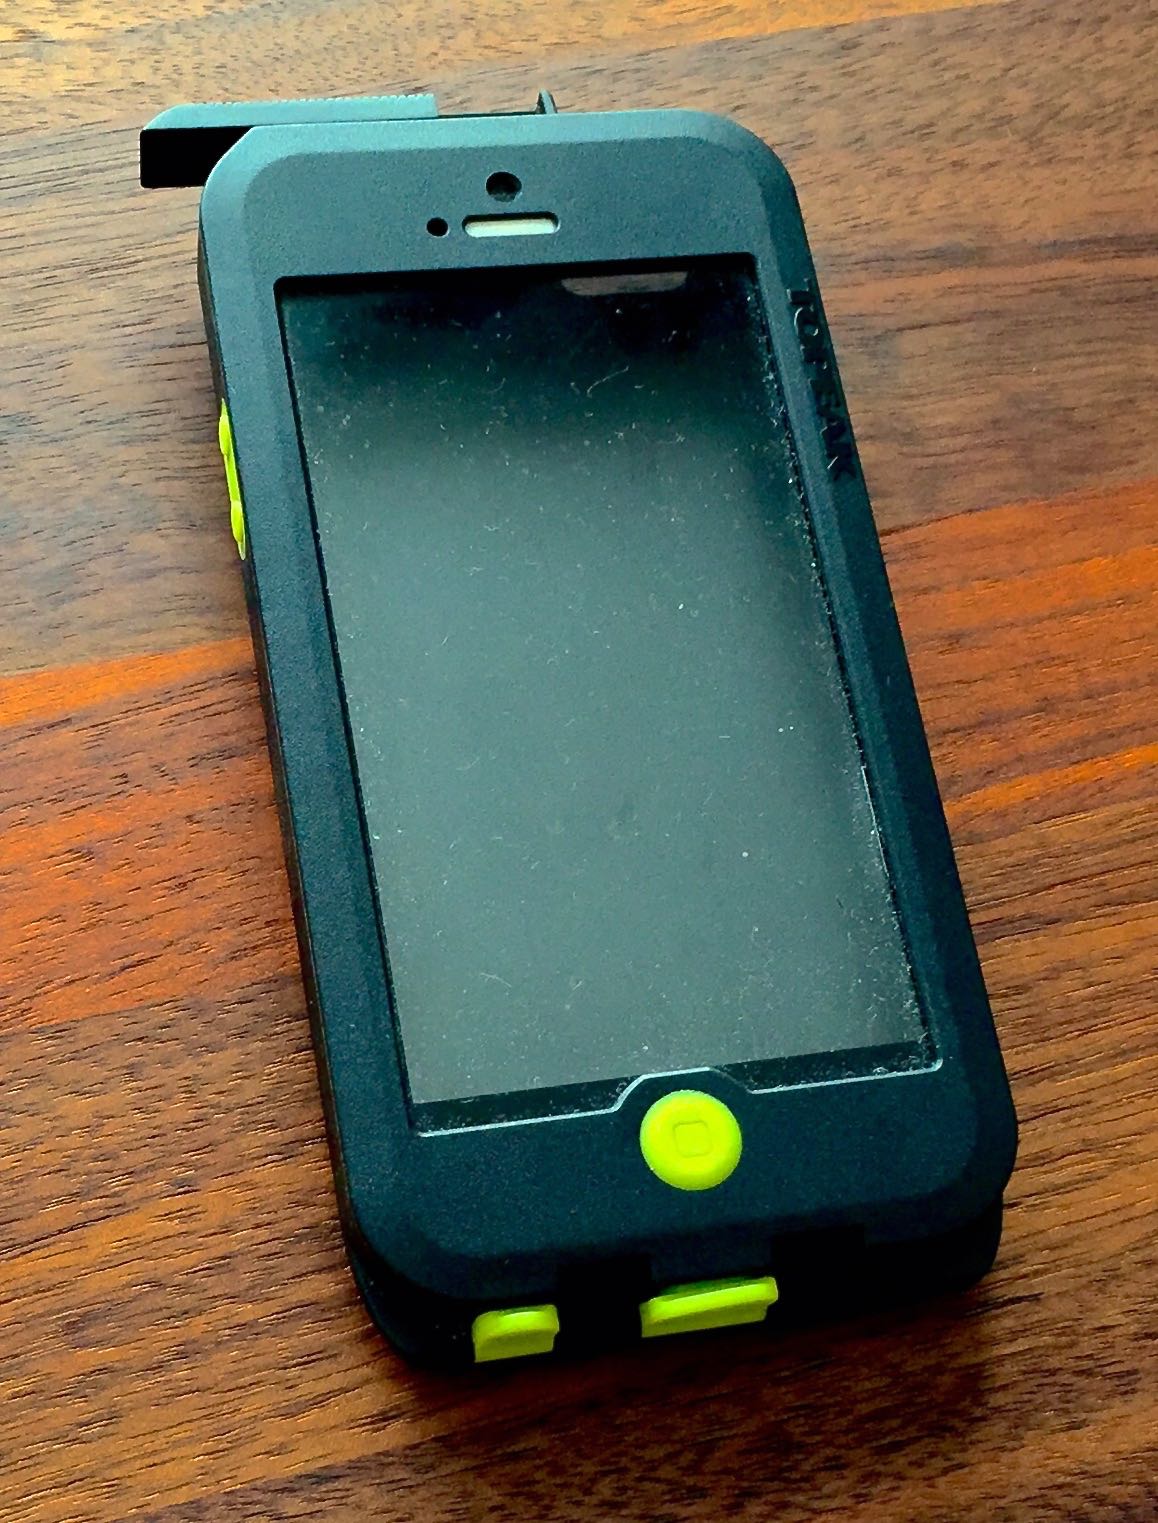
Tuff and light with weather protection is first and foremost what the Topeak case offers. I also believe in 3 colour types. All black case with the buttons coming in grey, blue, yellow, and maybe red (?).
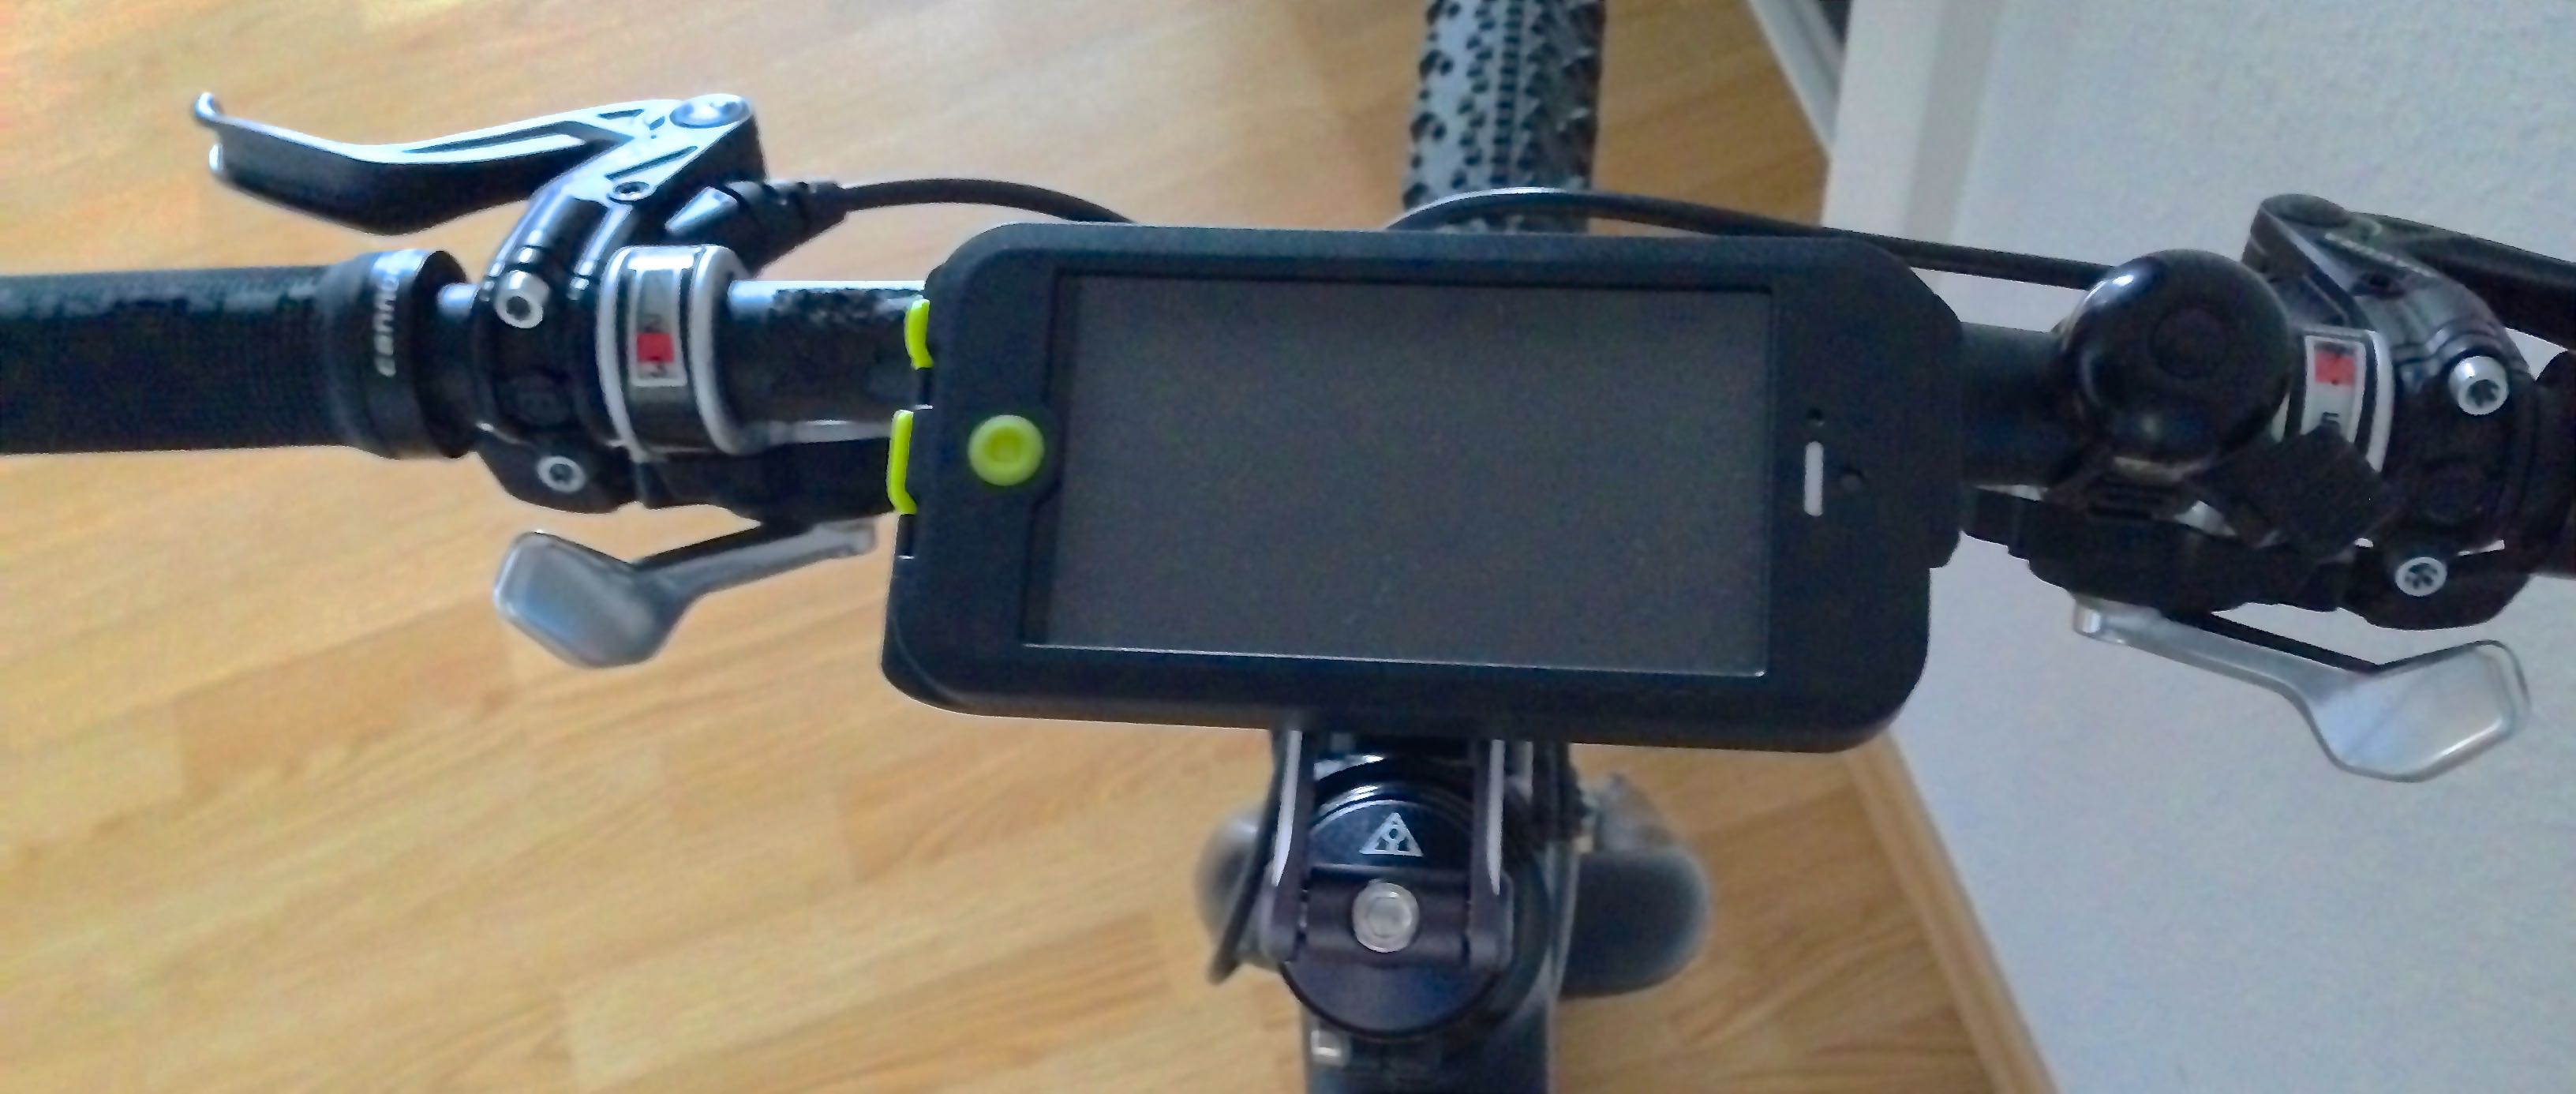
As I often don’t see my black iPhone 5 in the dark I figured the brighter yellow was a wiser choice.
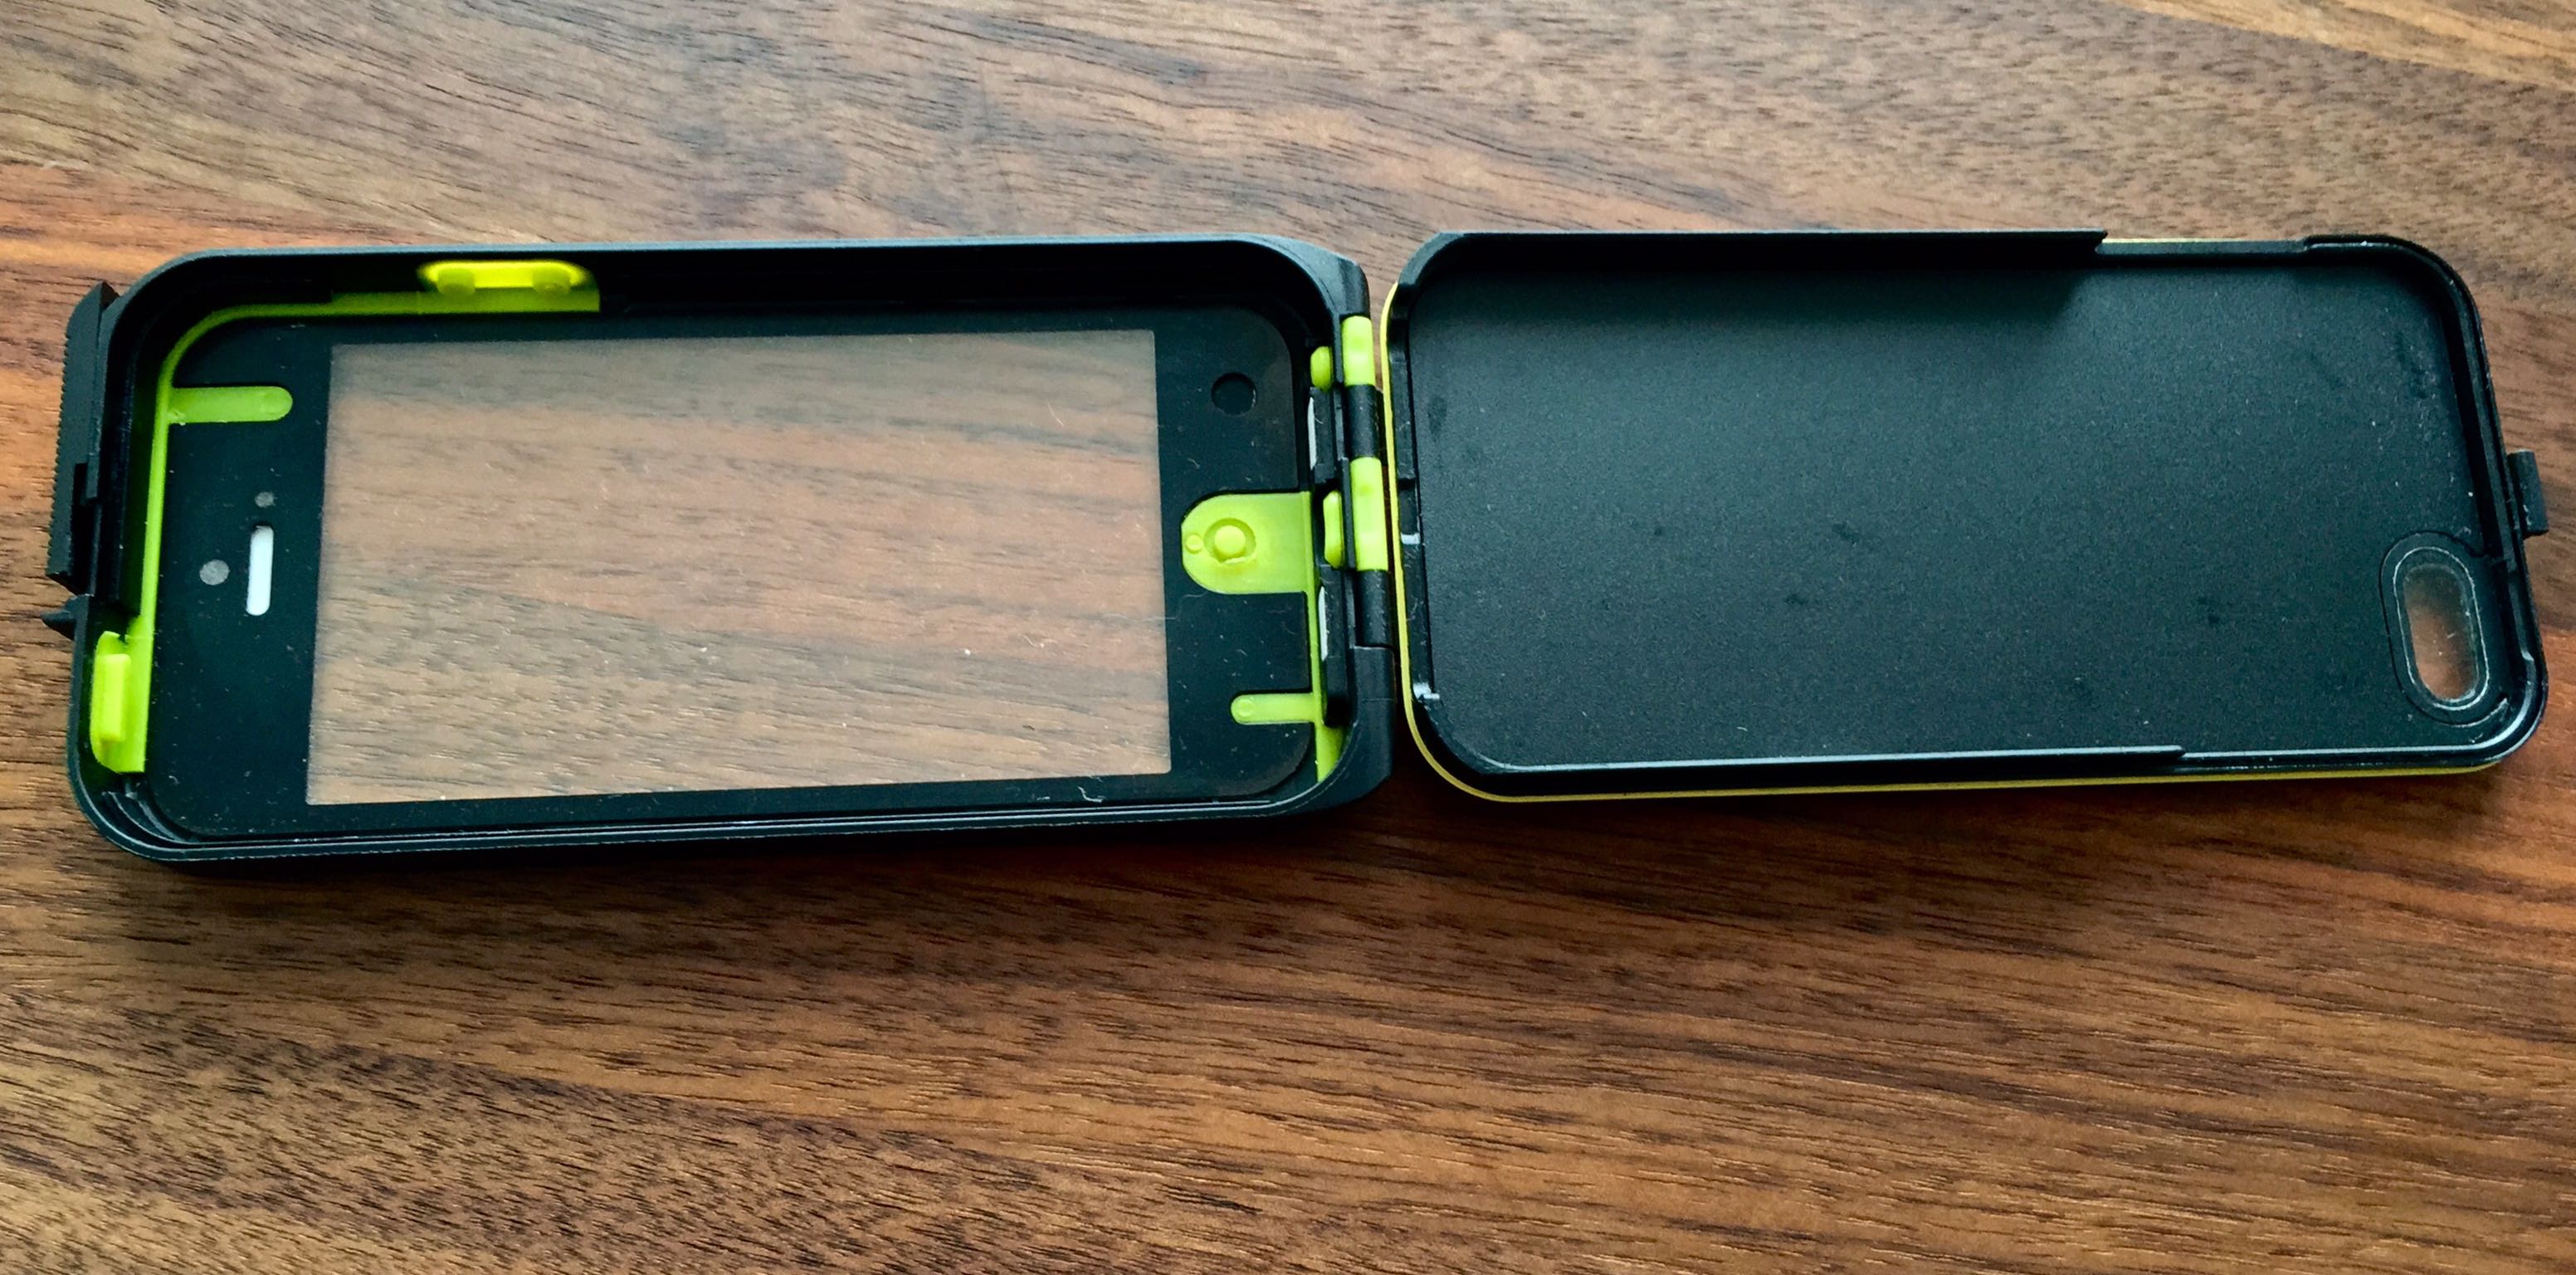
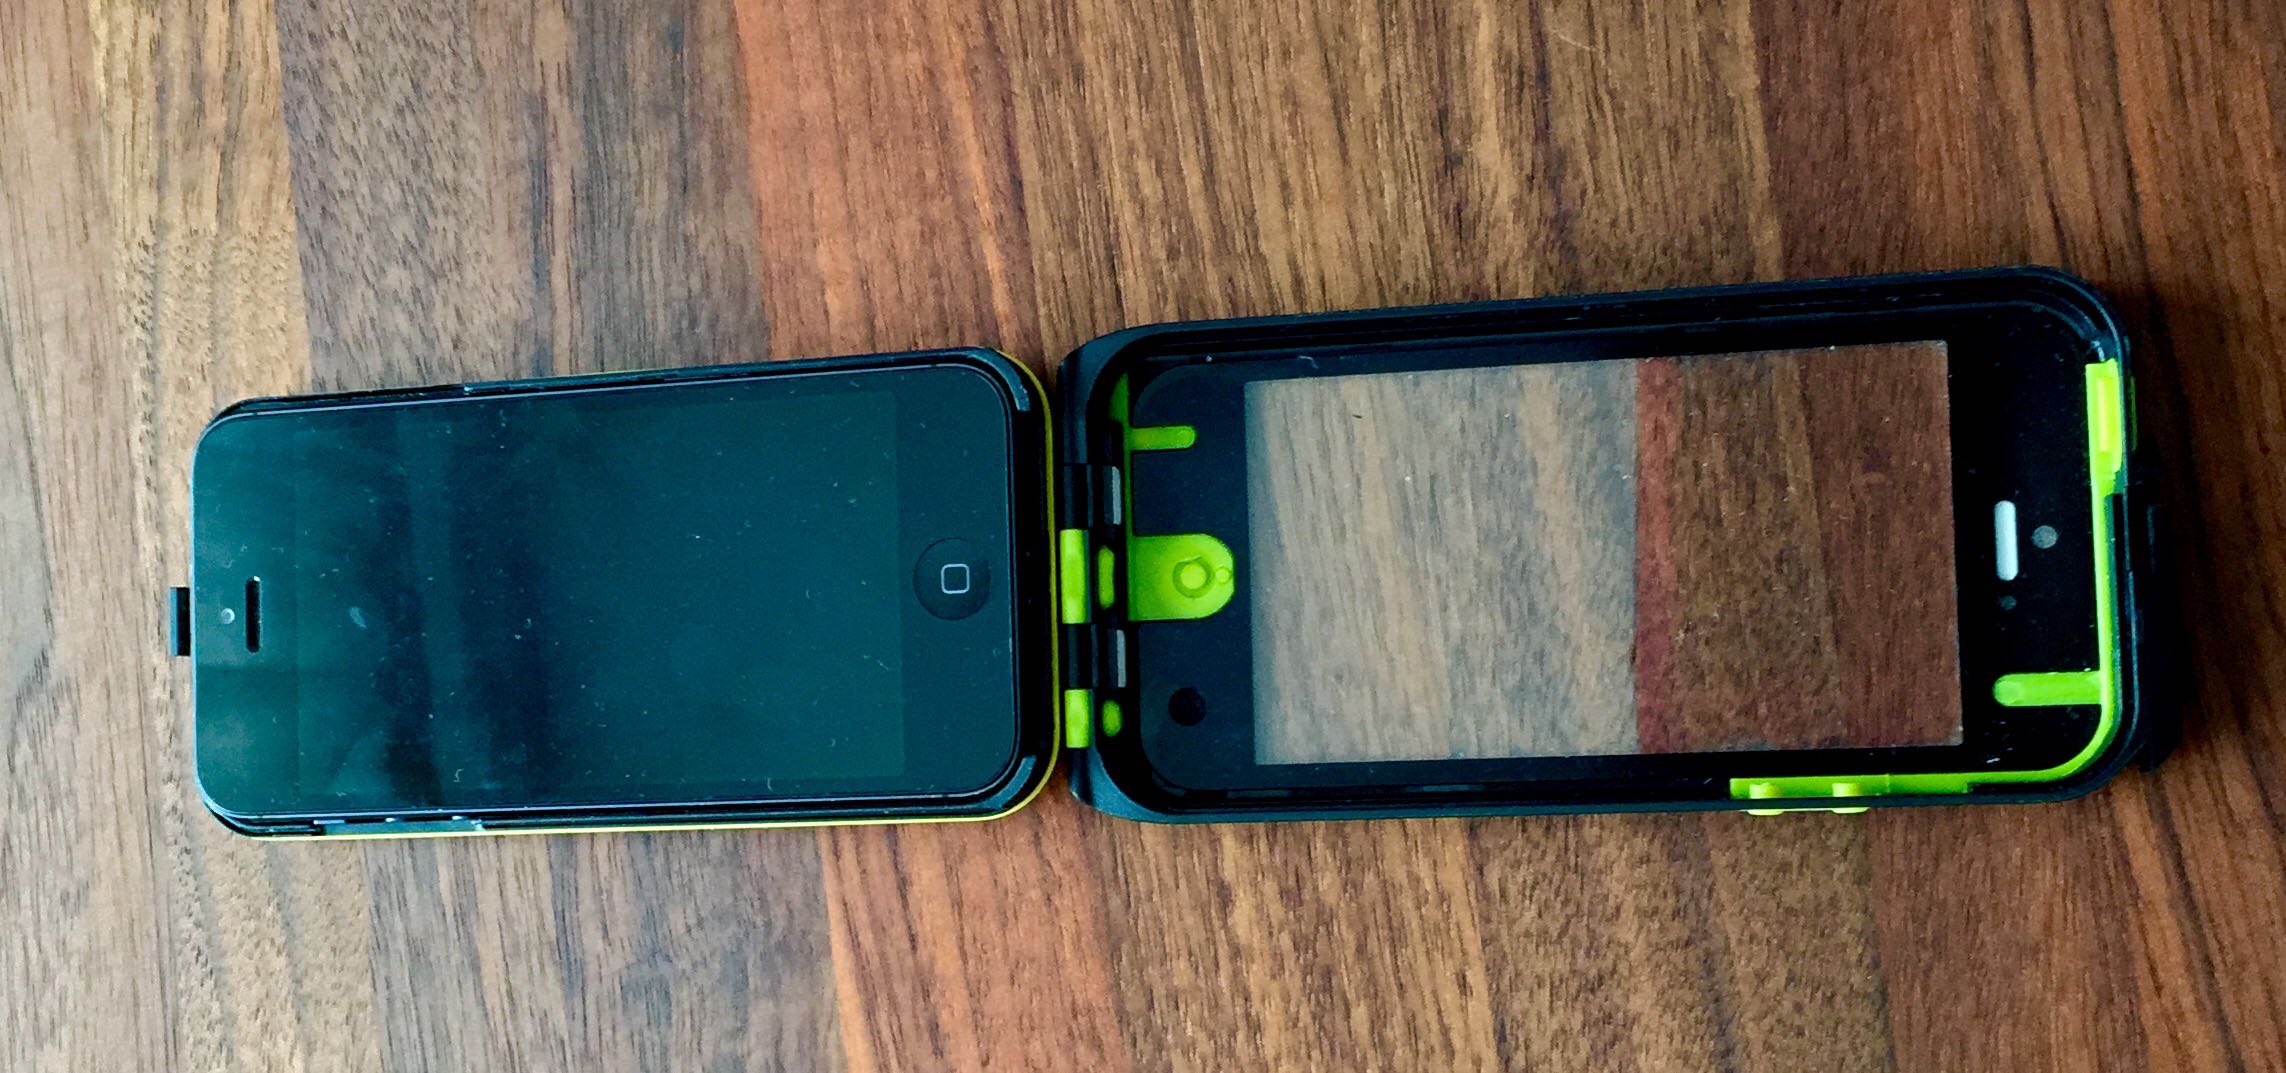
The fit is very tight and secure for the phone to the point if you have a protective foil over the screen it will not fit.
Around the edges of the case on the inside is also a rubber seals that keep any dust, water, or other elements from damaging your phone. As it is a tight fit this also translates into being able to use the phones touch screen from the outside with minimal effort.

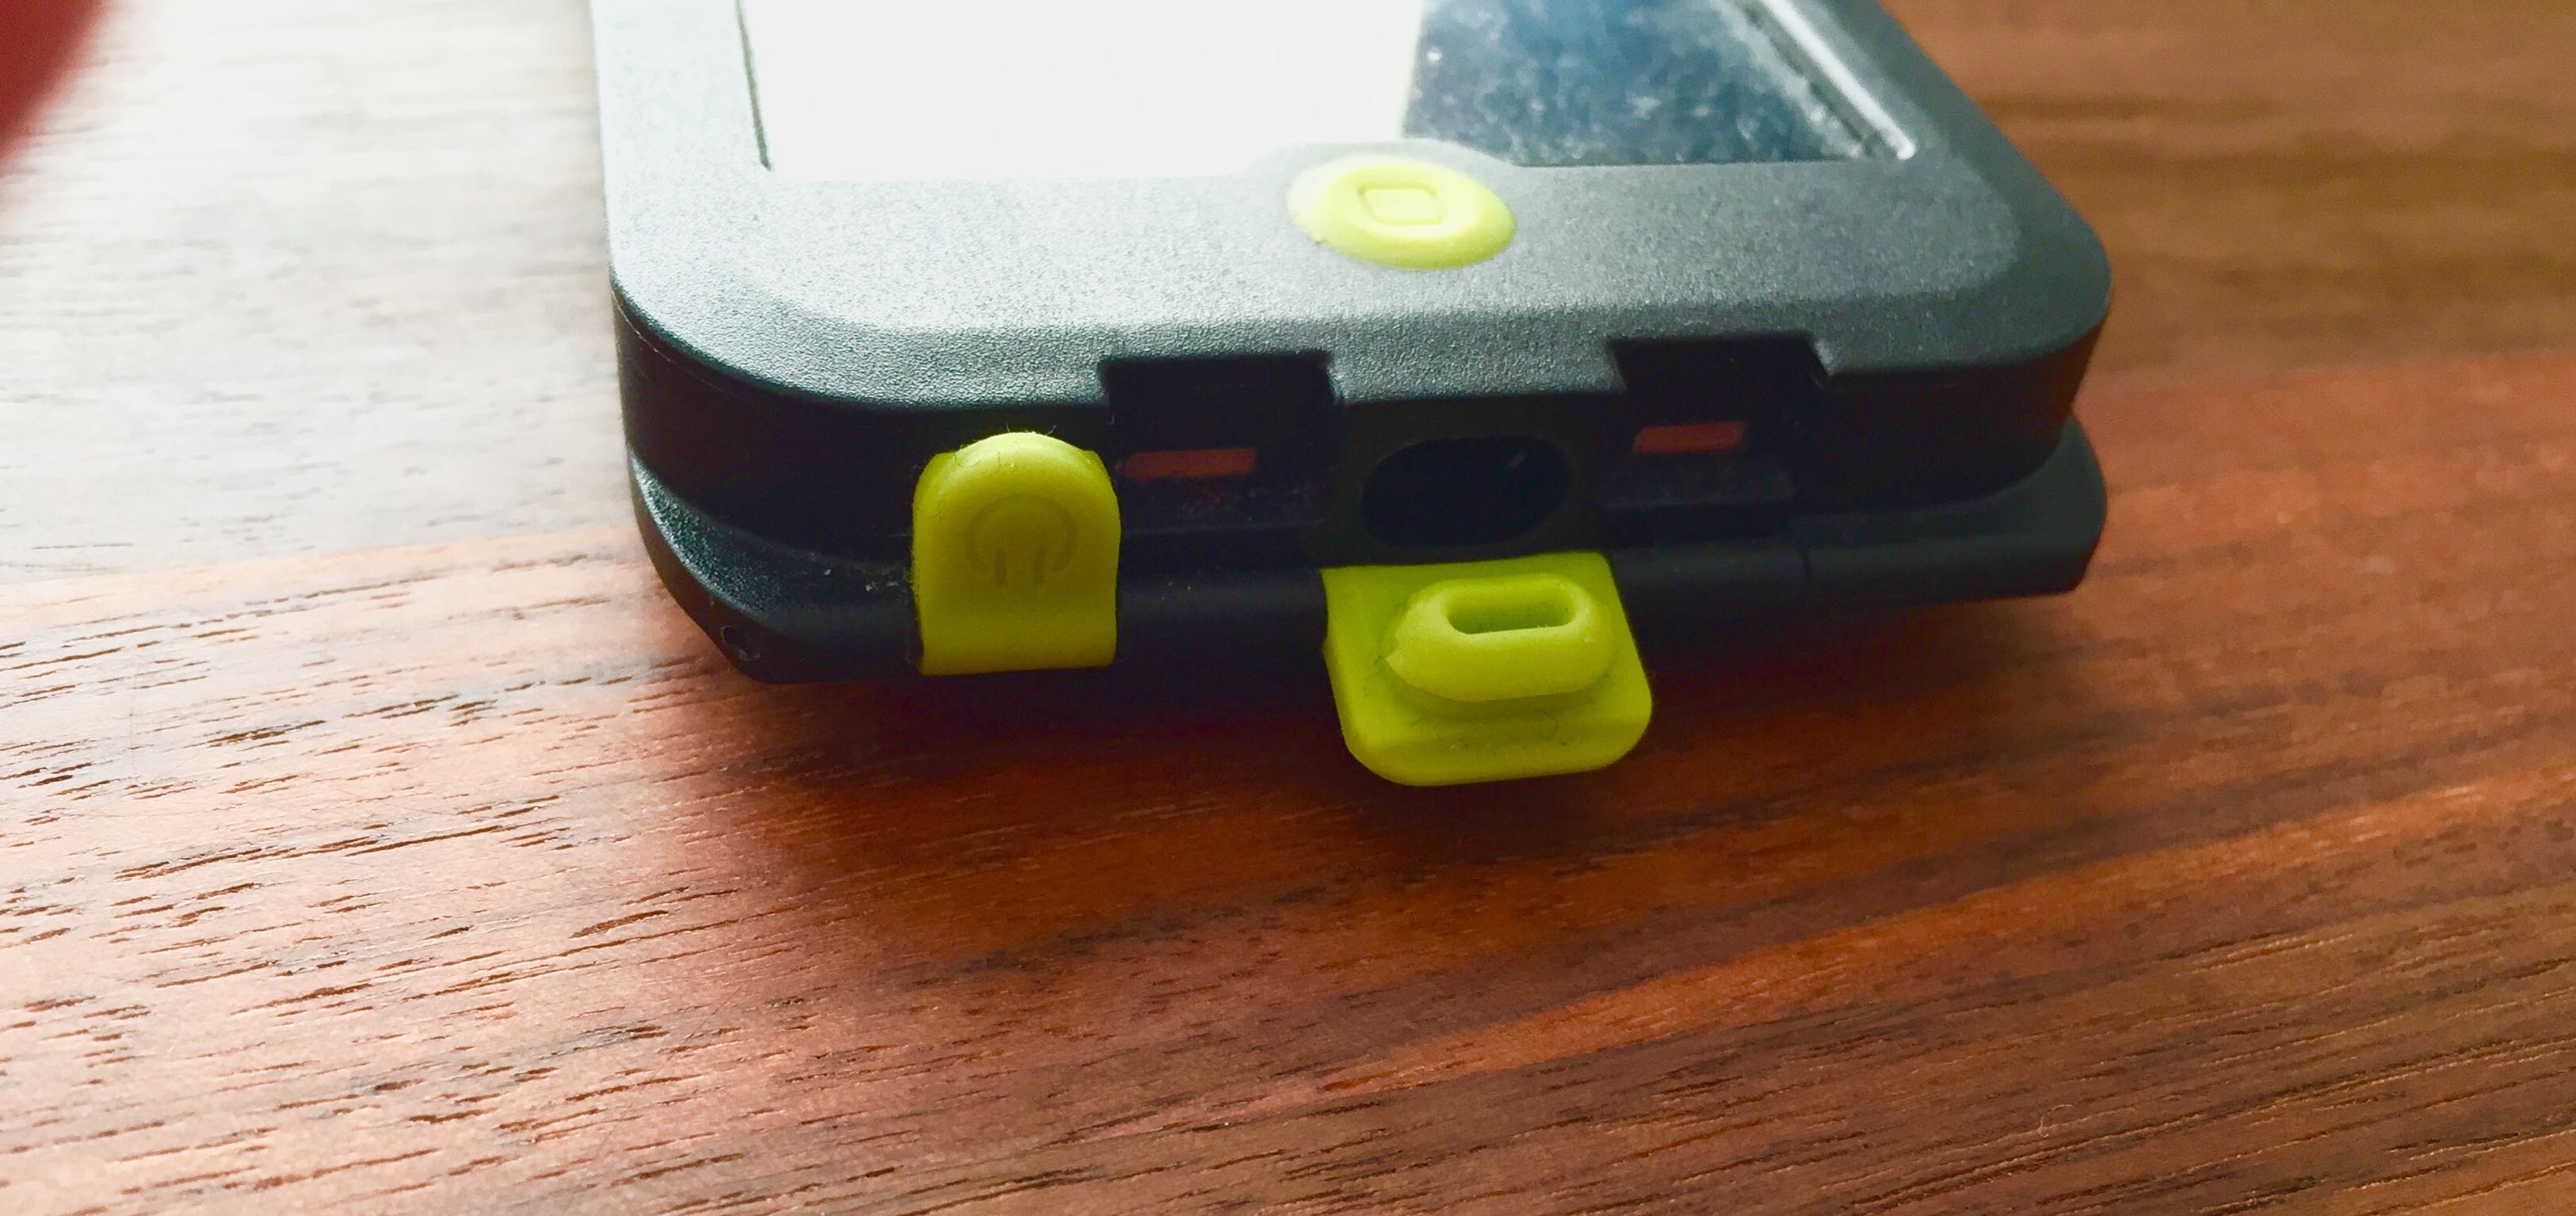
The case closes up with an easy to use secure lock that slides into place and is easy to see if it was left open along with the lock screen button. As you move along to the side of the case there is the standard volume controls, but what is sadly lacking is the mute switch. Still it is sealed with is a real plus.

Towards the bottom of the case there is also your headphone port, and lightening connector. Another very important point here is the ports are designed for Apples standards so third party lightening adapters, headphones will likely not fit. For myself I had to use the original lightening adapter for my external battery, and then dip it in silicon paint to water protect it as nothing else would fit. Even the Topeak battery pack can not be used which if I am honest is a pretty significant error on their part as it was for the previous type of adapter.
On the back of the case you have the protected covers for your camera which I found out also have a slight yellow film on when first in the package that was making all my photos an interesting tone. Thanks Topeak Support for clearing that part up as the manual missed this detail. Naturally with the film off I get decent pictures and videos.
More importantly on the back is the slightly recessed insert to where you can mount on your bike with the actual bike mount. It sits flat also on a table or desk.

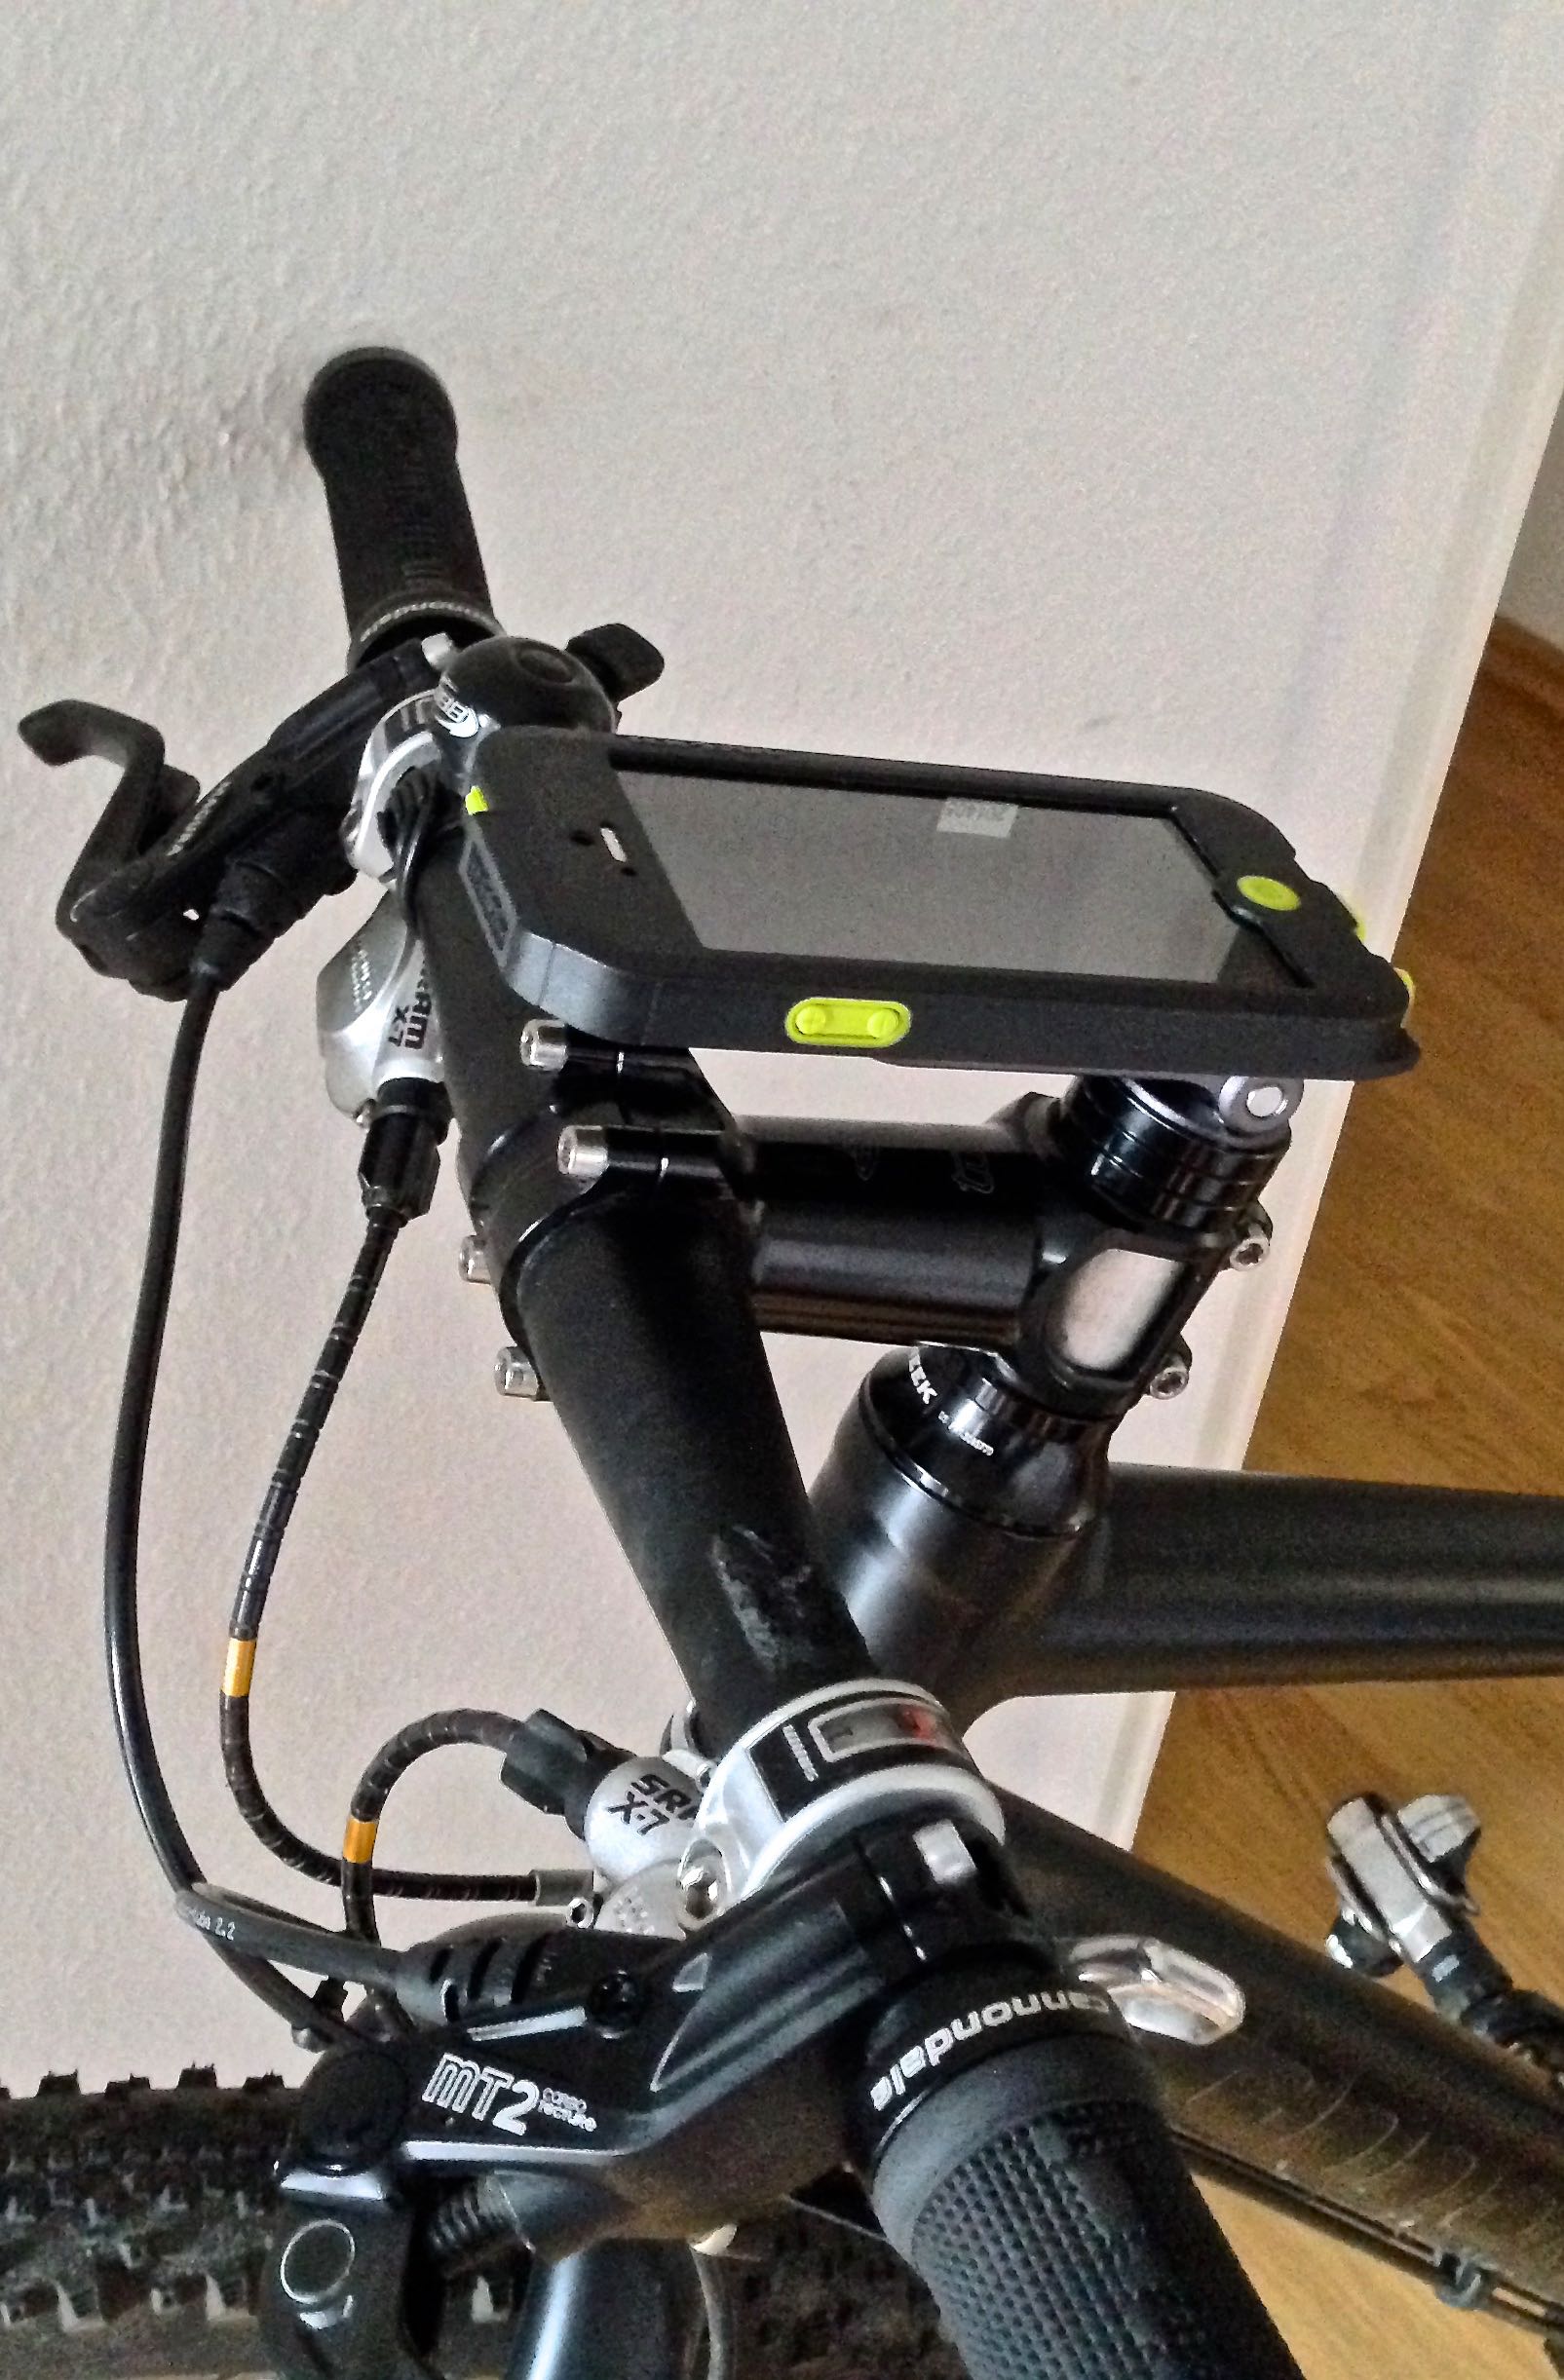
On the bike it is an easy slide in to the mount. In my package I had both the stem mount and the velcro mount but I found the stem to be a bit cleaner and easier for adjusting the tilt or rotation. Very nice feature if you want to capture some video well riding, or want to adjust the reflection angle of the screen to see better.


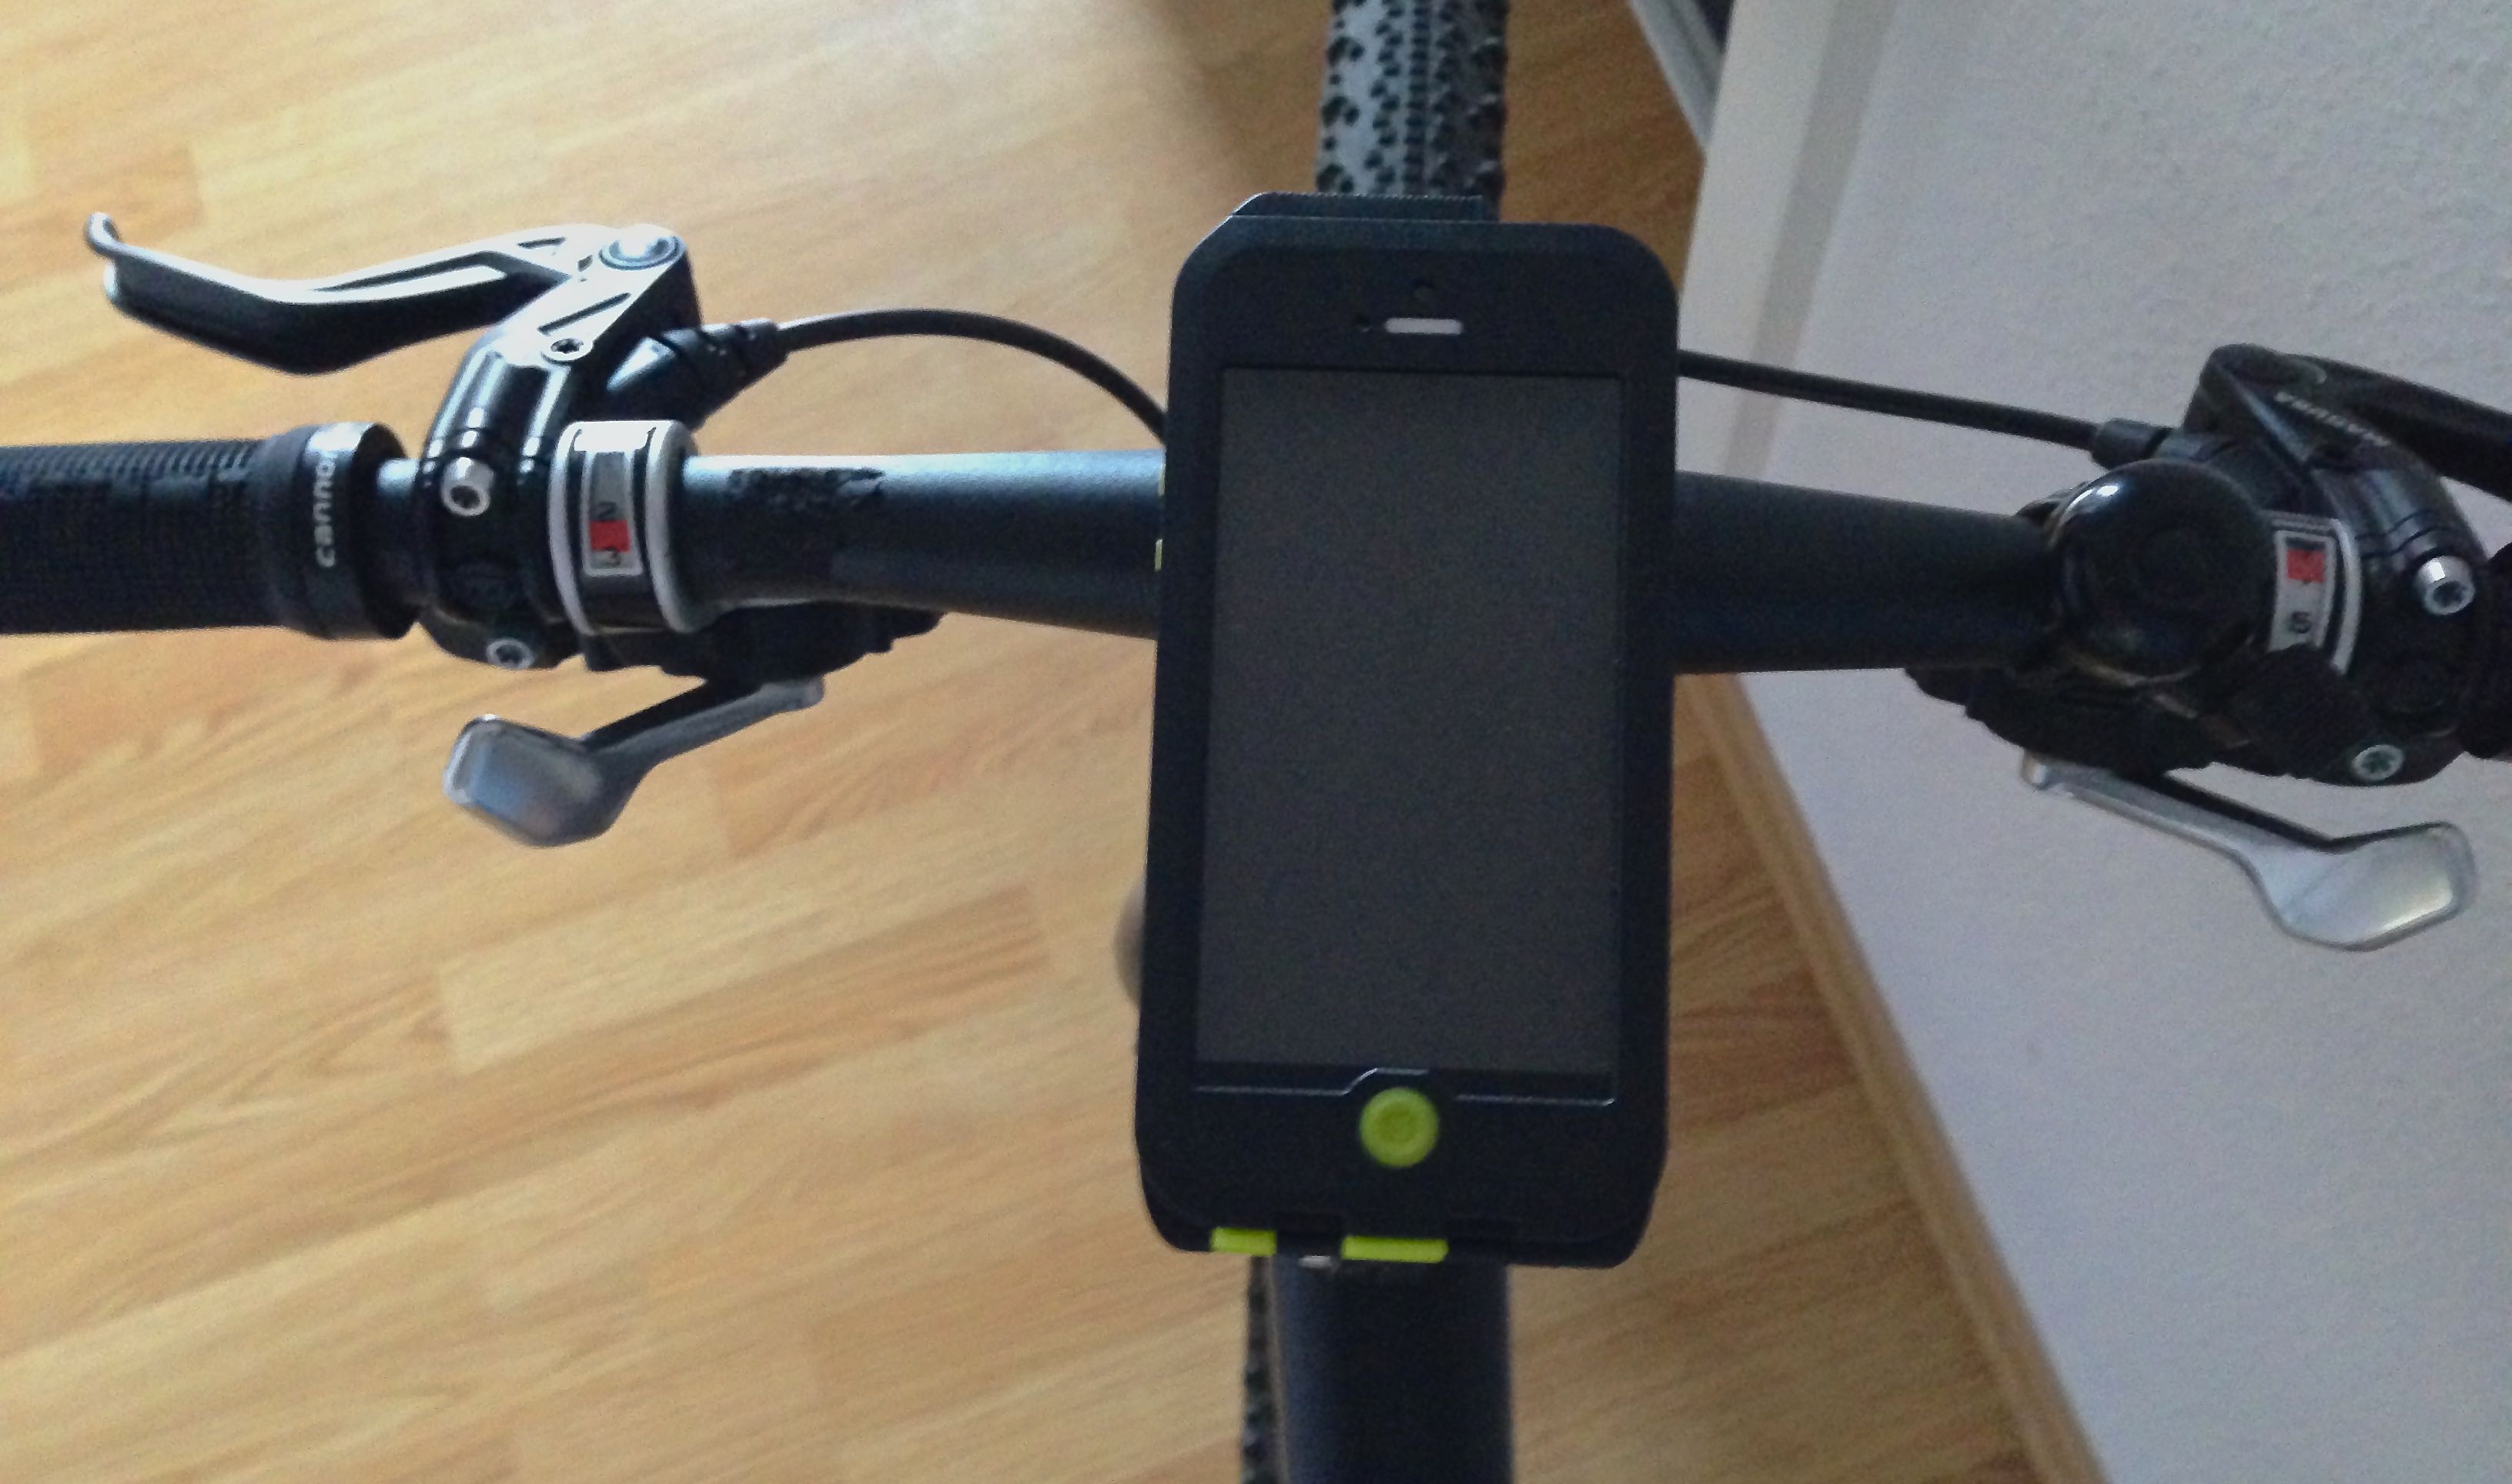
Along with the mounting of the phone with a simple slide in, and a slight push of the little tab to unlock the phone and slide out you have the ability to view the phone in either a vertical or landscape mode with a nice little click to lock into position.
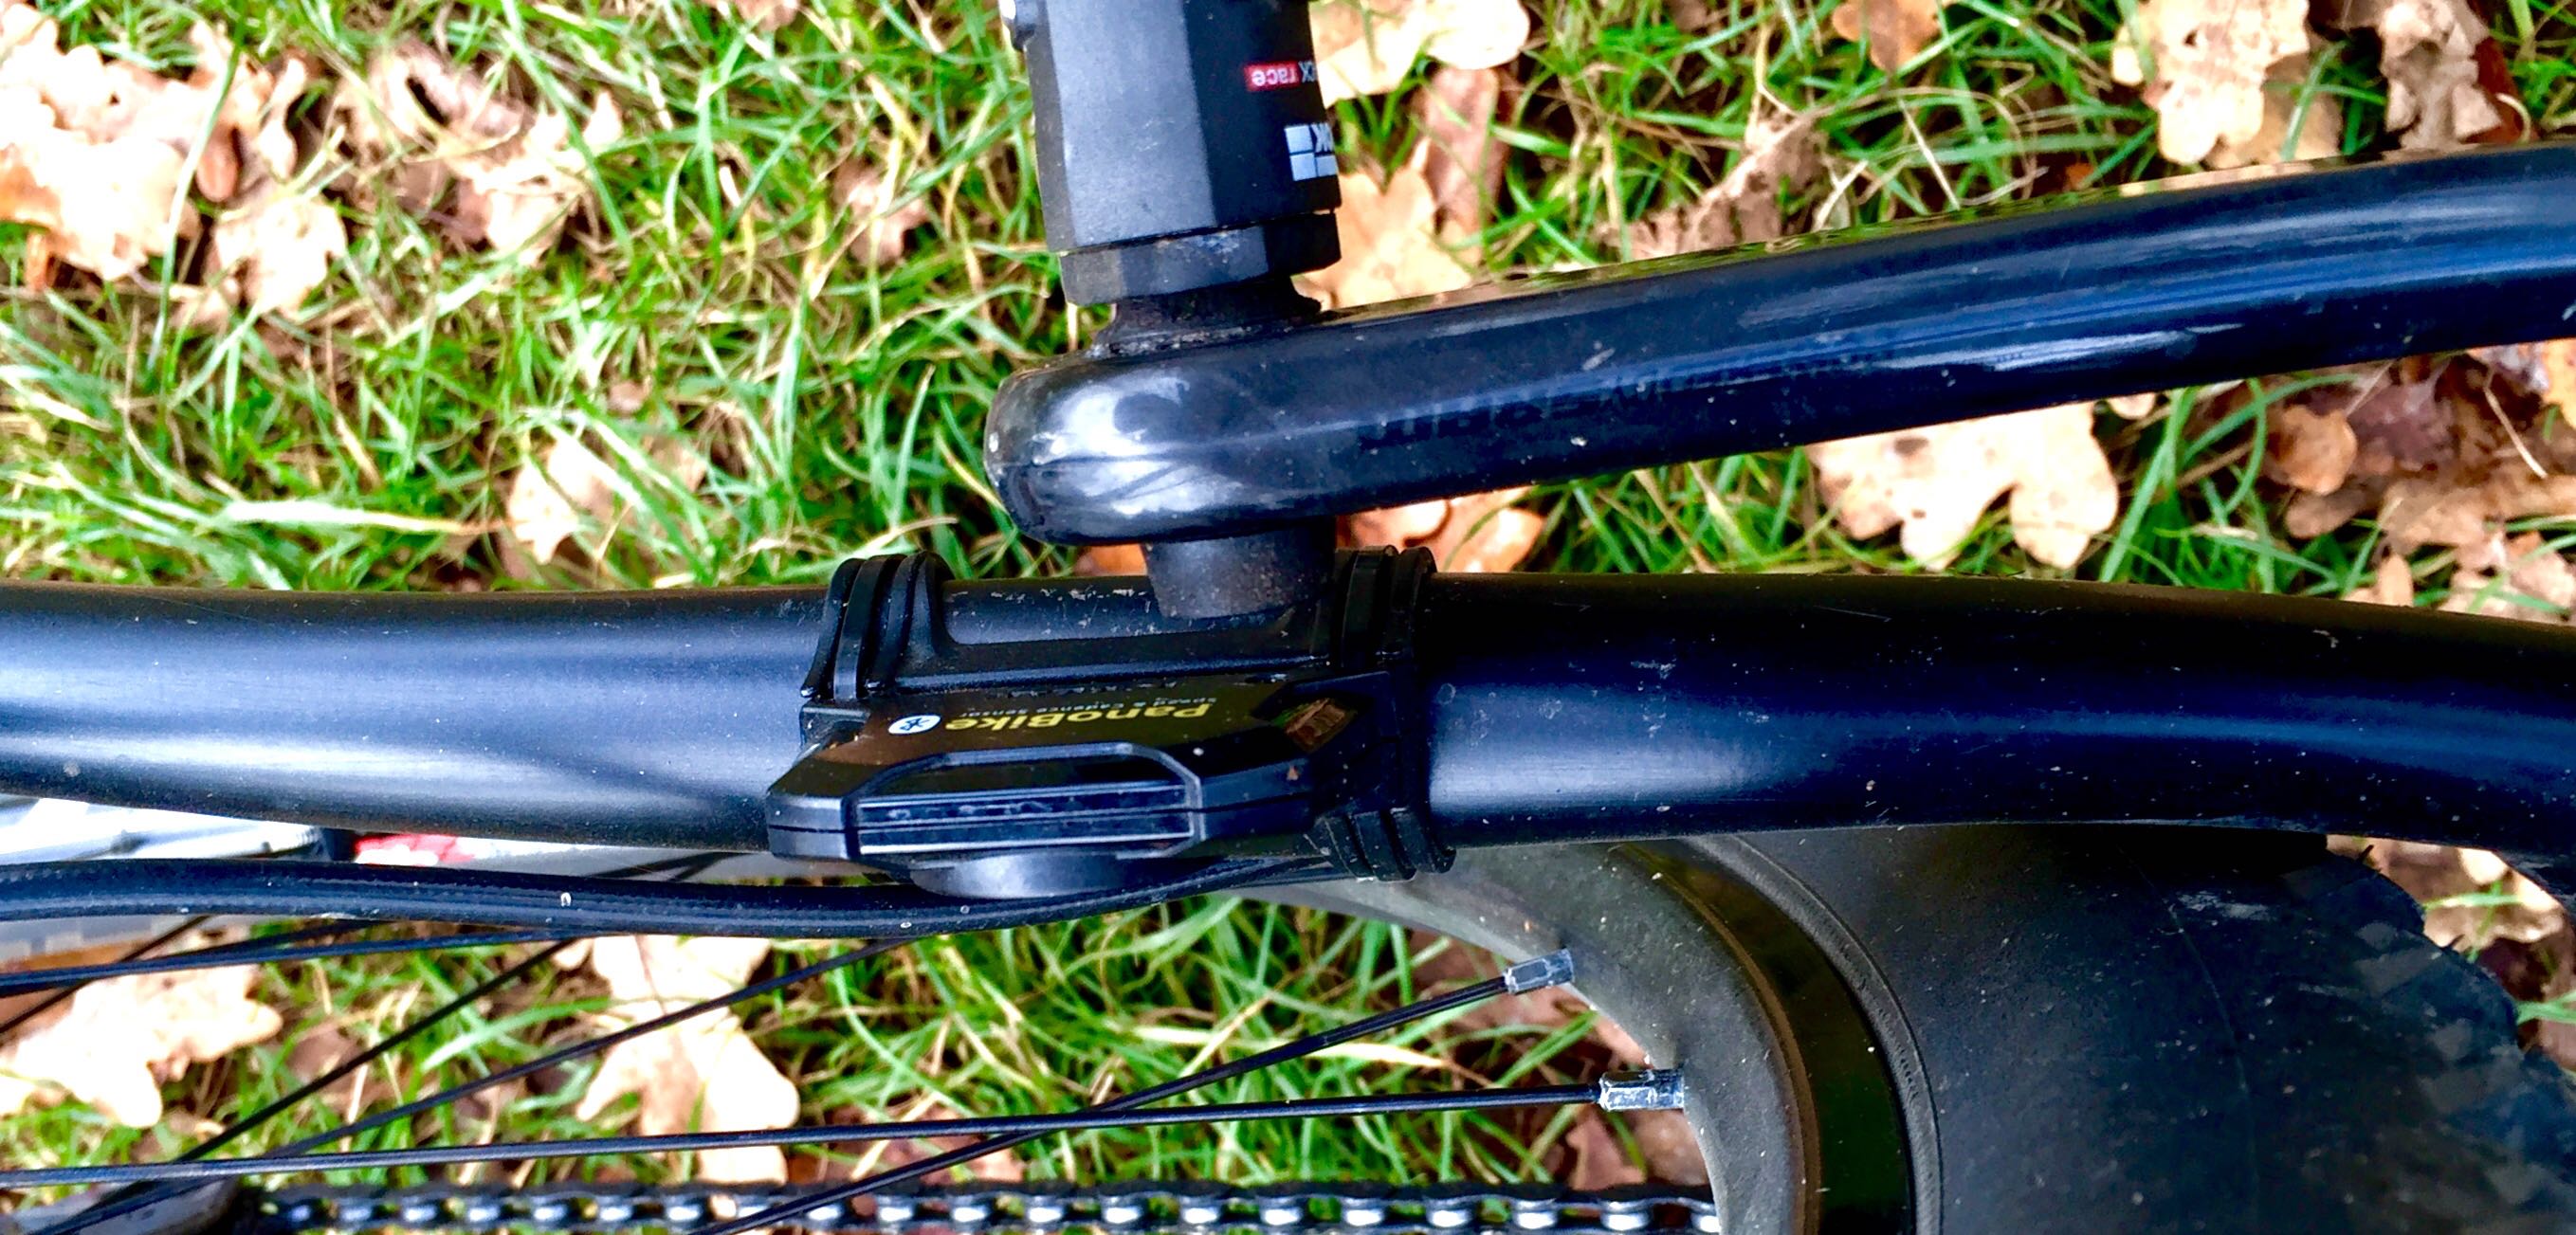
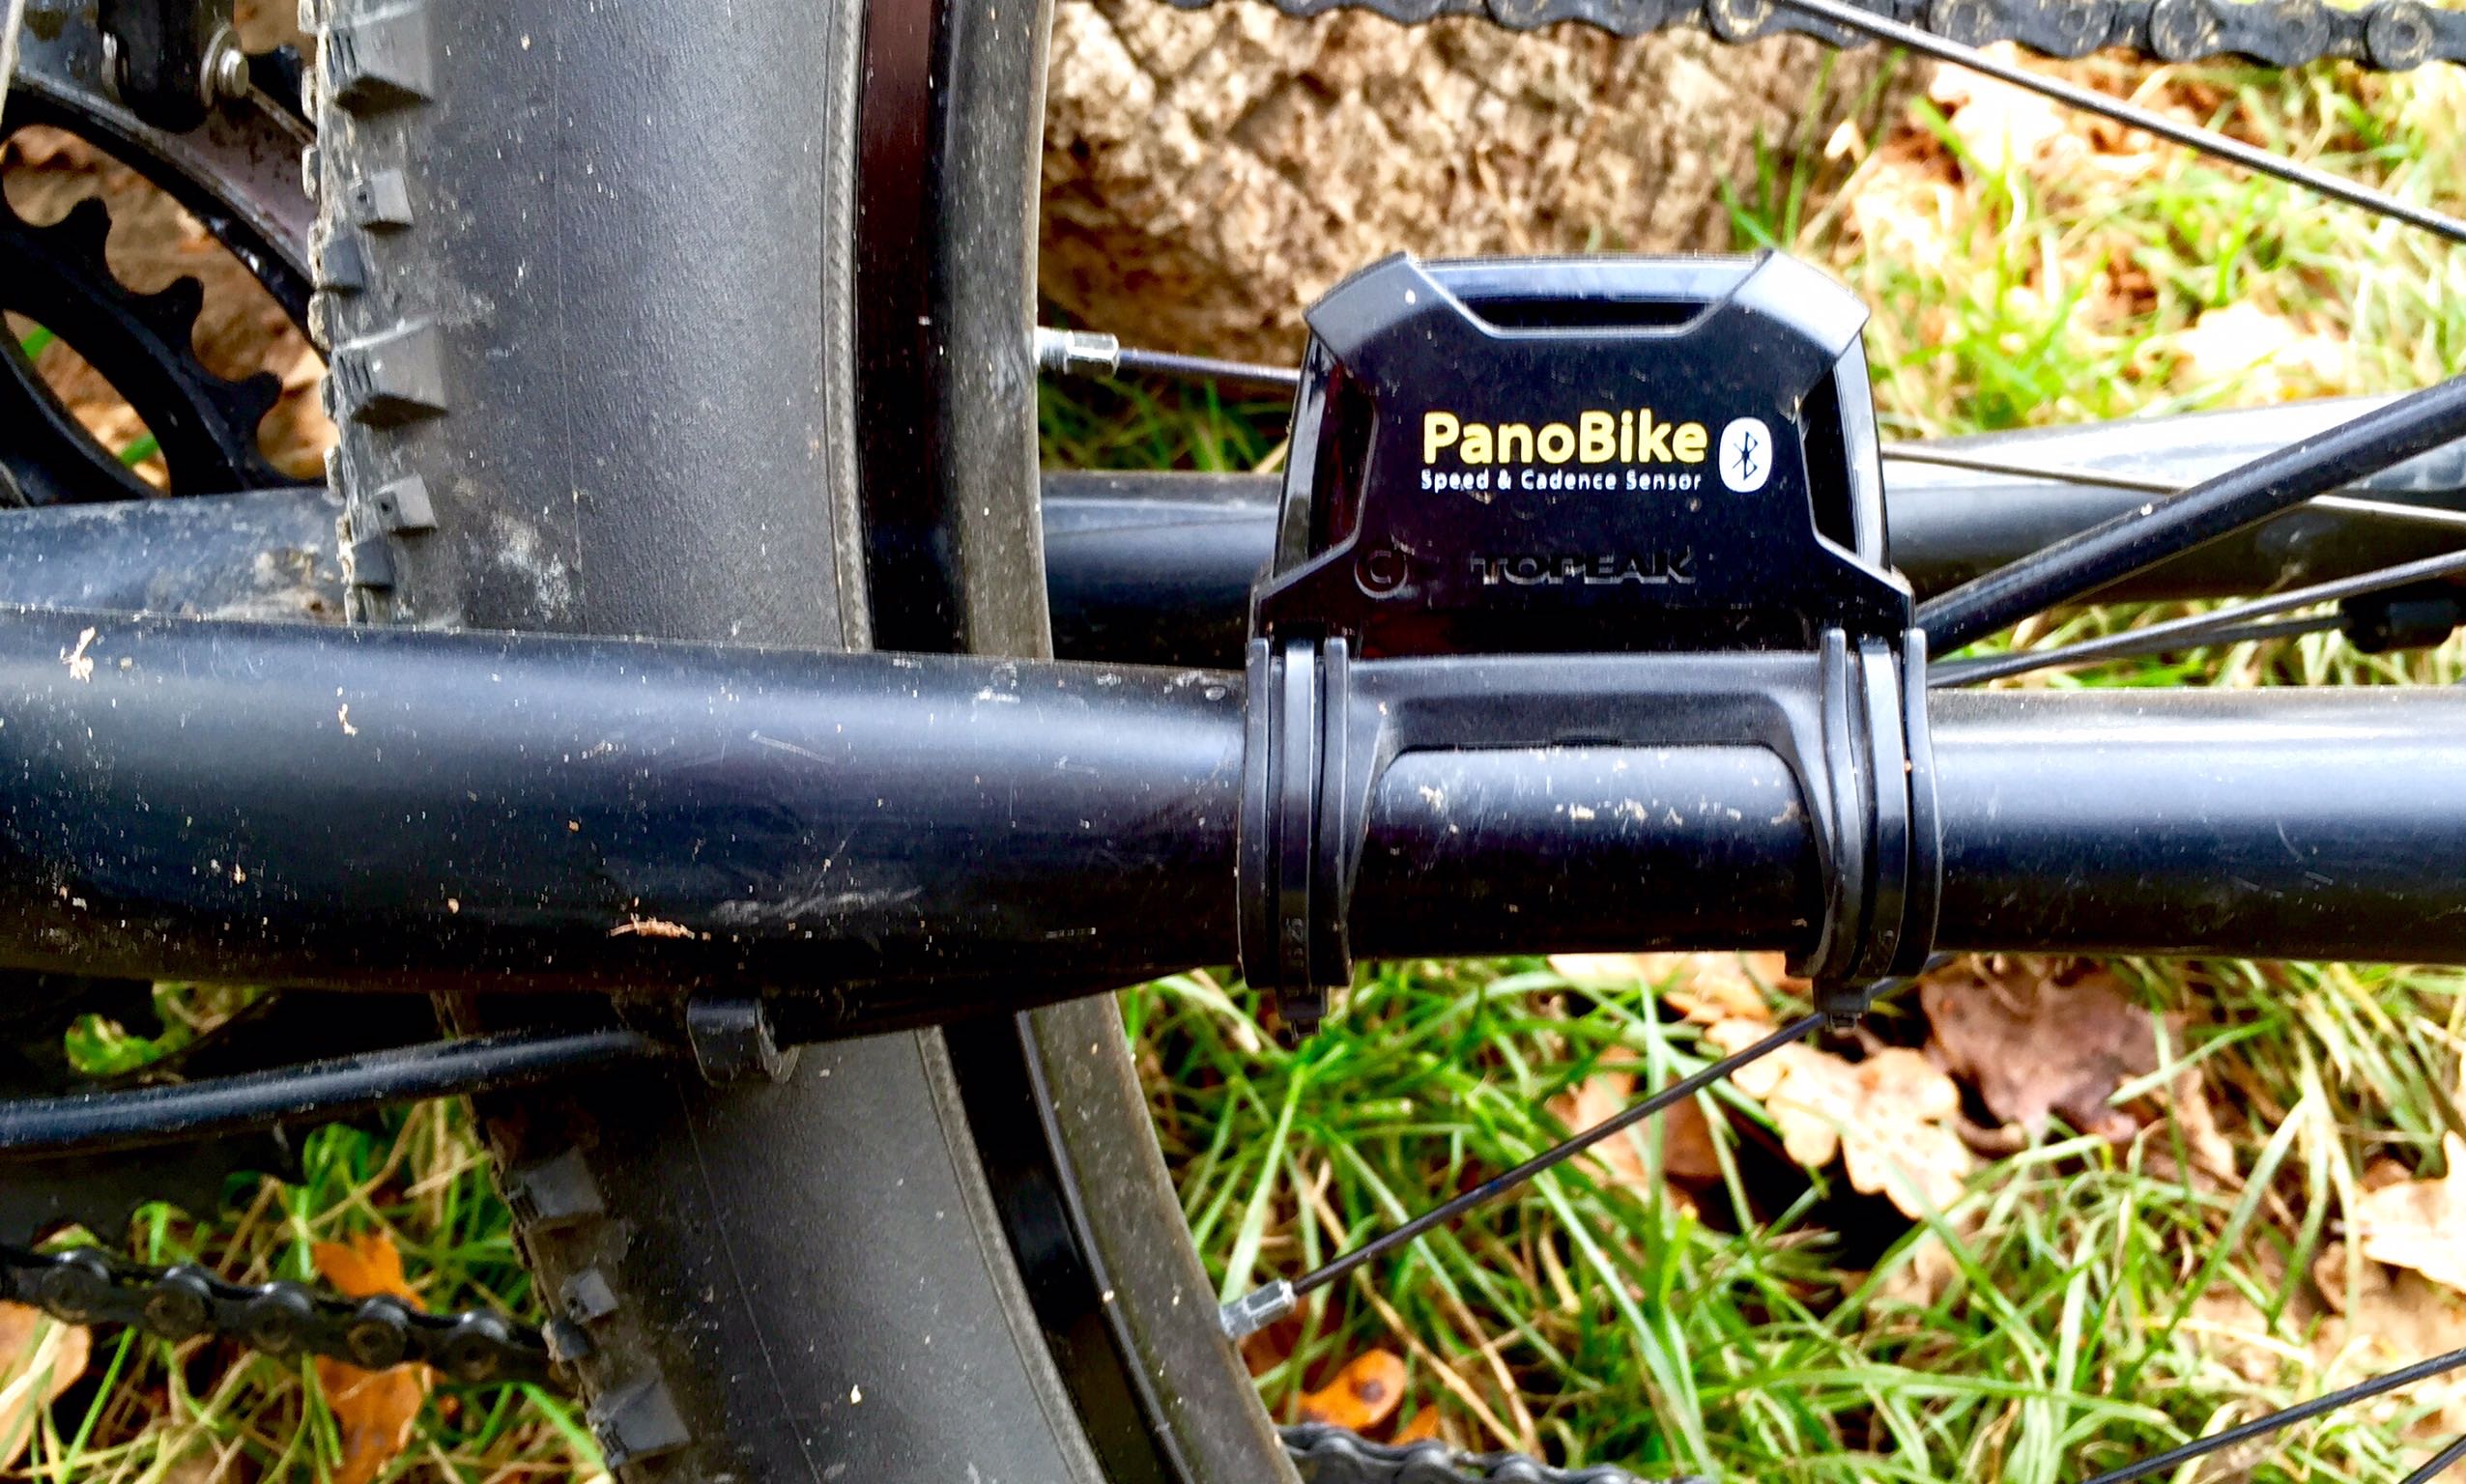
The sensors are also a nice update over my previous generation of ANT+ devices that had both a separate device on the front wheel for the speed, and another one on the position of rear chain stay for cadence. Often the cadence one was knocked as it only had rubber rings so I was not getting pedal speed readings after a bump or two. I won’t even get into the ANT+ issues of no sensors working when I ran my LED light in the night, or how the local streetcar also caused it havoc. With the new low power Blue tooth I am happy to report zero issues so far.
Setup of the sensors was also relatively easy but I did find I had to use the magnet extension that came included in the case to get with in the distance of the sensor tolerances.
So wrapping all this up I am glad I have made the swap over to using a smartphone setup on the bike and am sure this is the future. Go in the woods, pull up a map and track your training. It is just so simple.
Add in the ability to shoot a video as say a nice summer day well crossing from the Czech to Germany along the Elbe River and not loose a single bit of training information is brilliant. Yes you will need an extended battery to run the display on training rides but that is not so critical as you can change apps to your liking with a simple download. The downsides is that you will need an extra battery and some method to mount this. I feel Topeak did a really good job on the design of this product but they missed the points on the lightening port and headphone ports, along with the fact there is still none available for the iPhone 6 and 6 Plus which I now currently own. I will post another update when the new cases available/arrive.
In short with the very minor problems I mentioned the price is great, the fit and finish is top quality and I really am glad I found the Topeak case and sensors.
Thanks for reading, and ride hard,
Canadian Snap